A custom font is a brand typeface that isn't among the built-in fonts or in Google Fonts. Uploading font files is on the Pro plan; Google Fonts are on every plan.
Select a text block
Open the presentation in the editor and click a block with text. On the right, in the “Text” section, click the font field.
Upload the file
At the bottom of the list, press “Upload your font” and choose a WOFF2, WOFF, TTF or OTF file up to 8 MB. The font goes on the selected block straight away.
The name comes from the file name: “Brand-Bold.woff2” becomes “Brand Bold”. Each file is a separate font in the list, so upload the regular and bold styles as two files.
Use it on other blocks
Uploaded fonts are in the font list on the “Built-in” tab, in the “My fonts” group — in every presentation of your account. To change the font of several blocks at once, select them together: the panel shows a “Fonts” section.
Manage your fonts
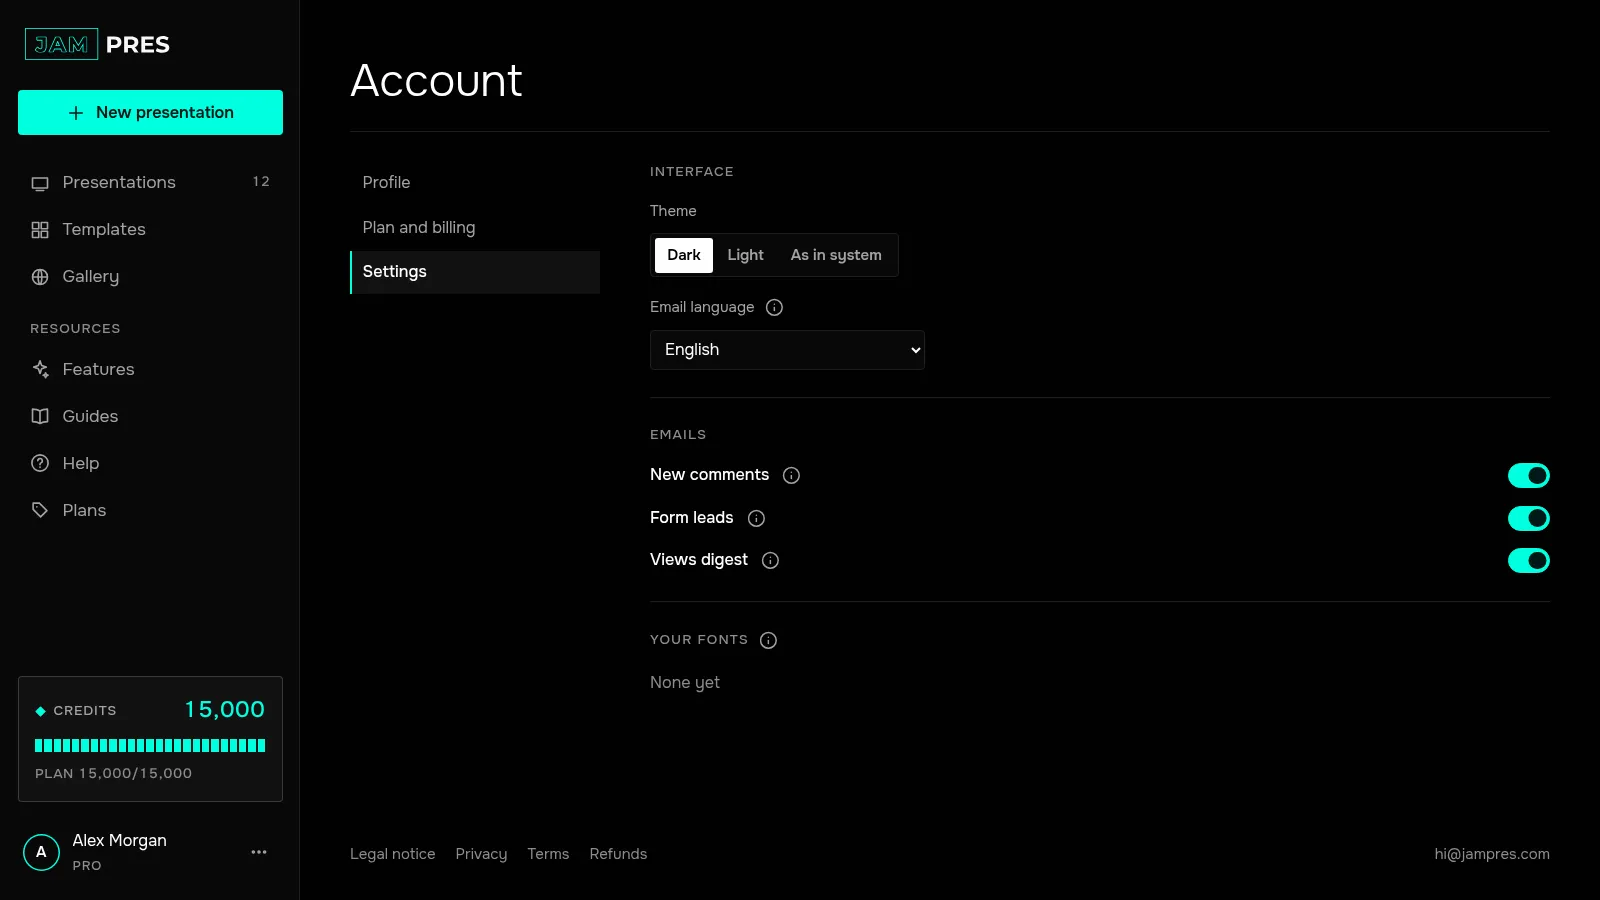
All your fonts are in “Account” → “Settings”, in the “Your fonts” section. You can delete a font there: presentations will use the template font instead. An account holds up to 30 custom fonts.
 The publication loads the font from our server, so viewers don't need to install anything. In a PowerPoint file, a custom font shows only if it's installed on the computer — more on that.